March 2005
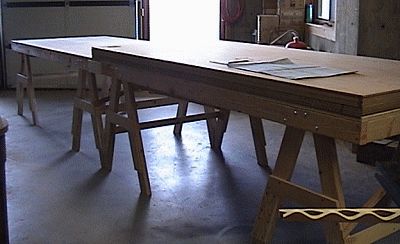
(1) Two 4' x 8' tables with one table holding 9 sheets of 3/8" 7 ply super marine plywood ready for the skiff construction.
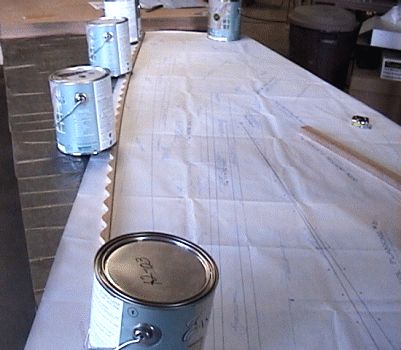
(2) Tracing the drawings onto the plywood. I used a crs (corregated roof spacer) cut in half. One is bent to the line and marked the second crs piece will become the router platform.
(3) After tracing the line onto the plywood the crs is pin nailed to the line. A second crs is pin nailed about 2" from the guide strip. This provides a platform for the router. A router with a stop bearing and a straight bit is used along the guide strip to cut out the traced part. The first cut piece becomes the guide for the second piece if needed.
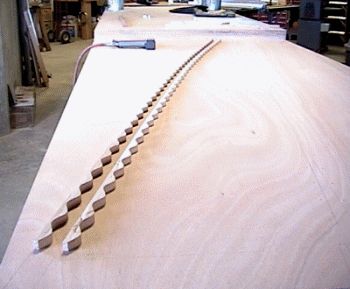
(4) This picture shows the nice curve that is produced by the crs (corregated roof spacer) A great time saver.
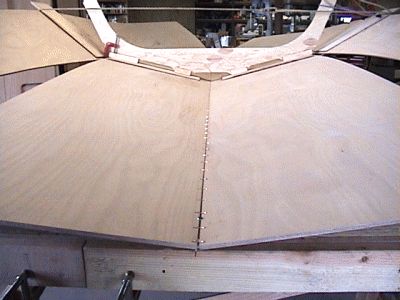
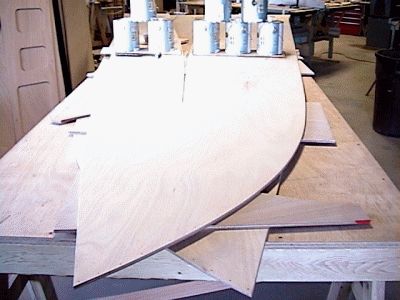
(5) This shows the centerline stitched and the temporary frame in position prior to pulling the two halves together.
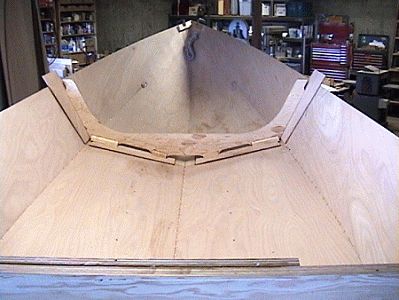
(6) The two halves have been pulled together and the transom installed as the hull starts to take shape.
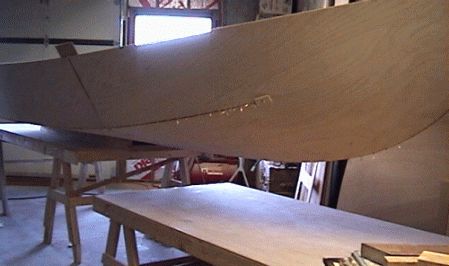
(7) The two 4'x8' table were designed so the legs could be shortened. Each leg is shortened about 6" by removing four drywall screws. This keeps the boat at a confortable working height. The boat is on skids and will be pushed forward onto the lower table.
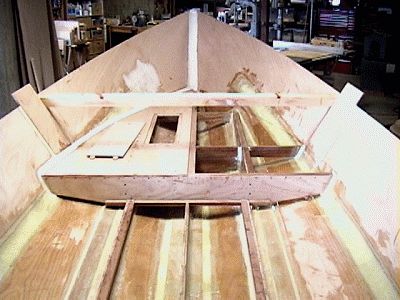
(8) The floor bracing and joints have been glassed and puttied.
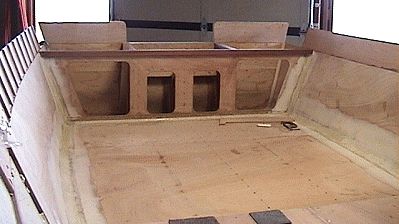
(9) Rear bulkhead and added bulwark and transom height addition. Note the spacers for the starboard bulwark. These spacers are pin-nailed to the bulwark and make installing the bulwark quick and accurate.