Picklefork by the Soderlunds
May 23, 2008
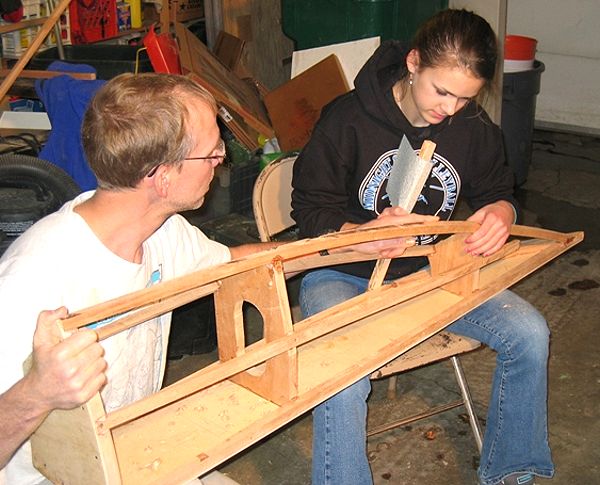
Our three kids - Ryan, Tim, and Krista began construction in
December 2005. Here my daughter Krista and I are fairing the
left sponson in preparation for the plywood planking/decking.
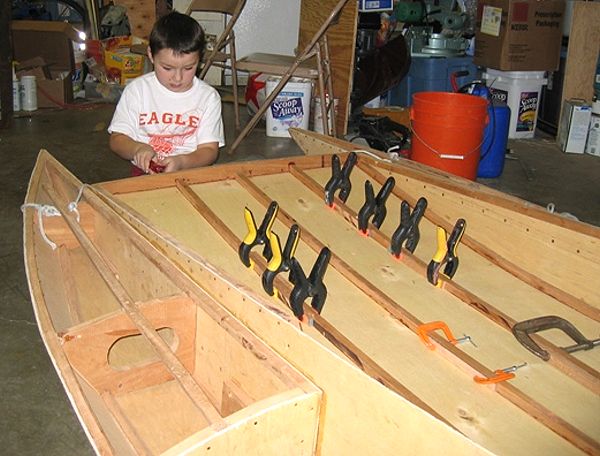
Here our young friend Danny is fastening the bowpiece in
place.
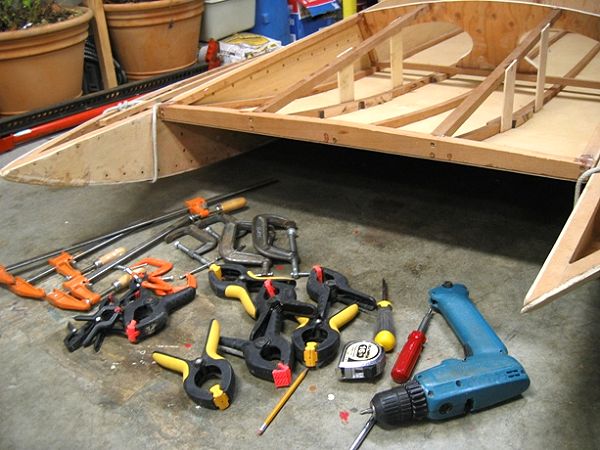
We discovered that you can't have too many clamps when
building a boat. Here the front of the boat is ready for the
cowl decking.
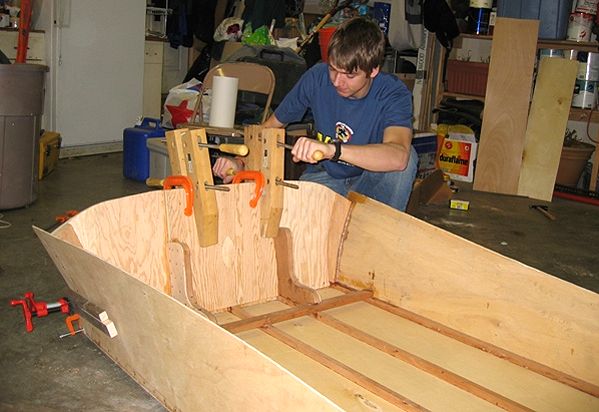
My son Ryan is clamping the transom after epoxying it in
place. We used West System 105/205 epoxy with 403 filler and
found it easy to mix and apply.
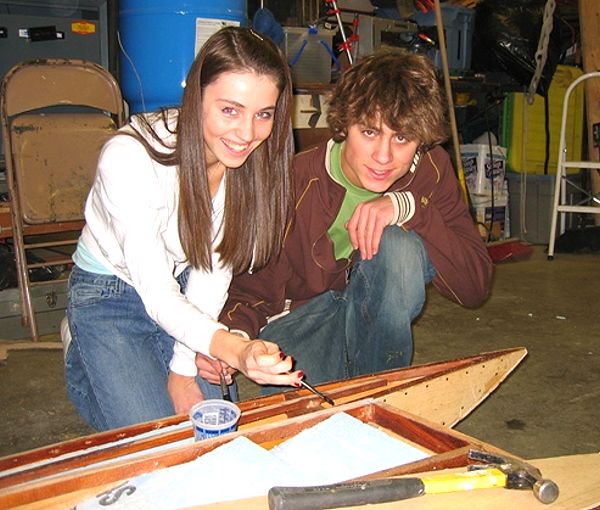
My son Tim and his friend Christiana are applying epoxy to
the sponson, just before attaching the plywood decking. We
put rigid foam into each cavity for flotation.
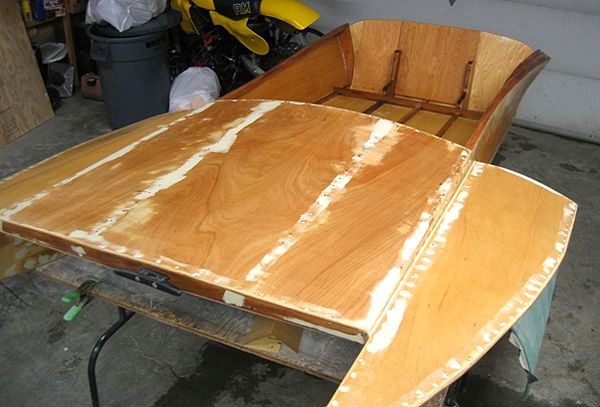
The fasteners are silicon-bronze screws and nails as called
for in the plans. The screwheads and nail holes were filled
and sanded smooth and a coat of sealer applied.
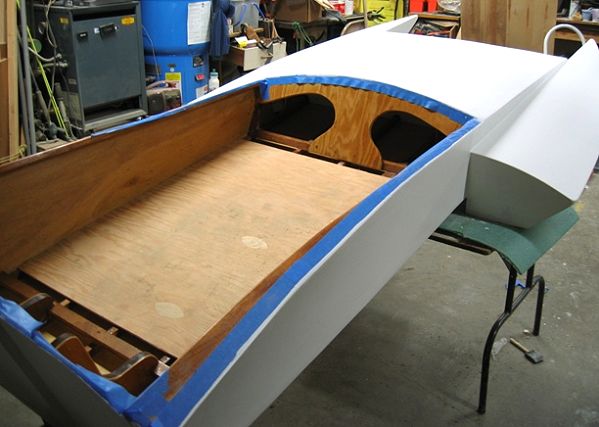
Then we applied a couple coats of Interlux primer.
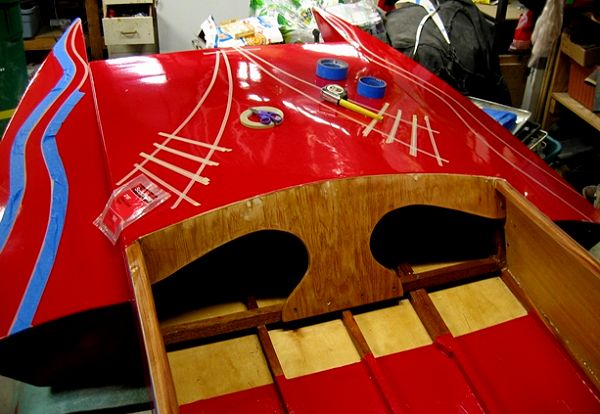
Two coats of Interlux Brightside paint and then we taped off
for some stripes. We used the roll and tip method described
in your forum and are quite pleased with the results. The
forum was a great resource that we used often for
boat-building information, products, techniques, tips, etc.
For the mahogany coamings and much of the plywood interior we
used Admirals Varnish from West Marine. For our first
experience with varnish we think it came out pretty good.
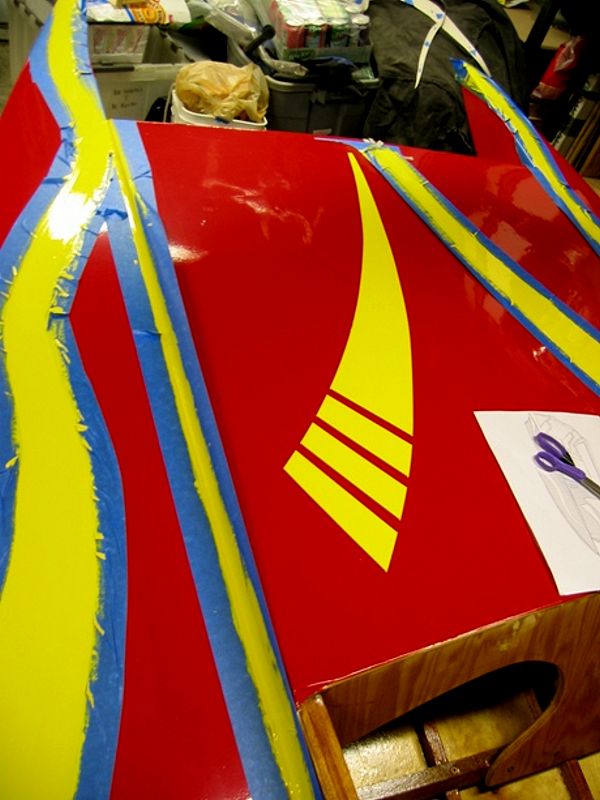
Peel away the tape and you get a nice racing stripe. Ryan,
Tim, and Krista each had come up with a design idea for the
final paint job. When I realized we couldn't choose one
idea, over the other two, we decided to incorporate parts of
each of their ideas so that they all contributed to the final
colors and design for this boat.
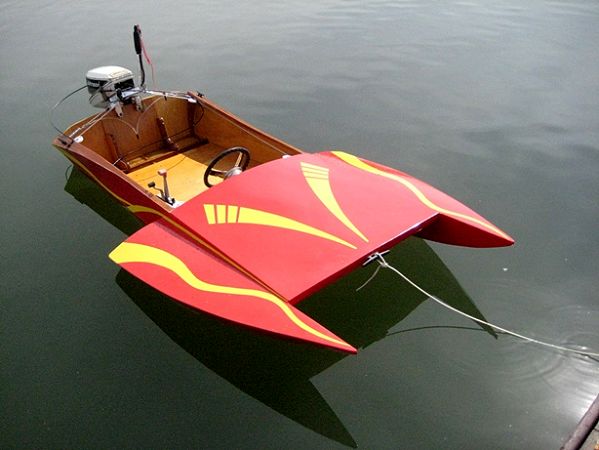
May 20, 2008 ready for testing at Finger Lake, near Wasilla,
Alaska.
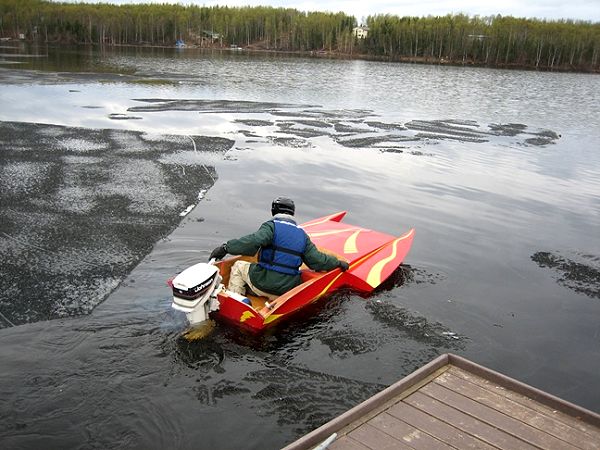
May 2007; The ice wasn't even gone from Nancy Lake when
Ryan took it out for her first spin. We had to push the ice
away from the dock in order to make room for launching.
Notice we are using the tiller for steering and throttle
control.
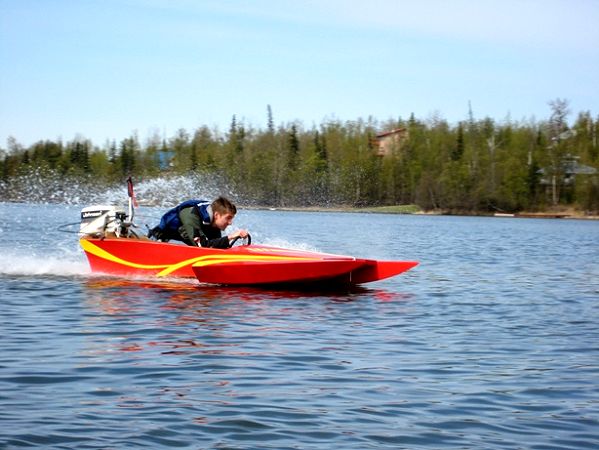
May 20, 2008; We finally got around to installing remote
steering (drum and cable) and throttle/shift controls (old
set of Johnson controls.) We found out it's a lot more
fun than using the tiller for throttle & steering. We had
a lot of fun building this boat and it’s a blast to
drive. We want to thank Glen-L for the plans and all the help
from their website.