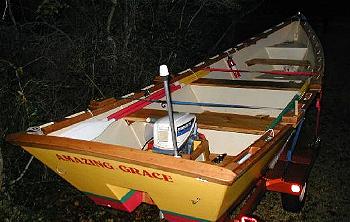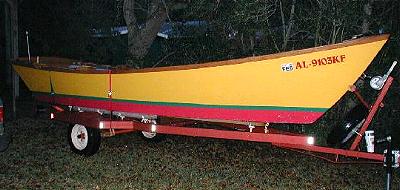
Sweet Caroline in Stitch and Glue
Email: 11-00The following is in response to my question, "How did you go about converting it to stitch and glue?"
I began with a set of your plans for the frames. Built them out of 2x4 stock to get the points to draw fair lines for the bottom planking. I temporarily attached those, a stem pattern and the actual transom to the bottom. Used that as a jig to produce cardboard patterns for the side planking. The rest was just stitch and glue work. I left the temporary frames in until the hull was glued and at least two thwarts were in to keep the shape.
I have at least one photo of the stage with cardboard patterns being made. We were so busy I don't think I have as many good construction photos as I wish we did. Waiting for some good action shots to be developed. The stitch and glue style keeps the inside very clean and leaves the floor almost flat. I put in a shallow anchor well in the bow and made the forward seat as a water tight bulkhead/seat combo. I put partial bulkheads of 1/2" ply under the two after thwarts. Boat seemed stiff as all get out even with seven aboard.
It would not be too much trouble for you to redraw this one as a stitch and glue design. I think it may save 50 pounds also on the hull weight. I used more tape on the chines and stem and transom joints than Devlin recommends for a boat this size , but I like things overbuilt. Used 4" and 6" biaxial at all the main points. I also used three rub strip/shoes on the bottom instead of the skeg because we are working very shallow water.
You will enjoy noting that your plans (sold years ago to "dreamers" who bought plans for many boats and then realized they could not all be built)are occasionally available. The set I bought had been folded up so long, opening them was almost as hard as some of the building. The Internet has also proven to be a world of help to us newcomers. Thanks for your web site. It is wonderful.
Thanks again,
Richard Barnes