Building the Malahini with Dad
by Alan Bates
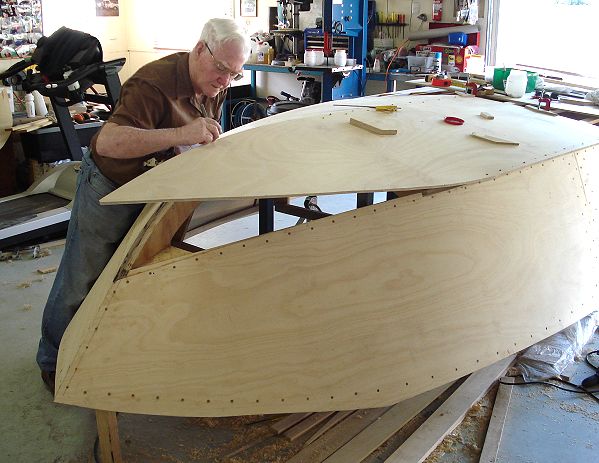
7. The hull is complete! Bearing in mind that the frames were constructed before I took holidays, Dad and I spend 12 straight days (good 10 hour days in most cases), to get to this point. I was tired, but I felt very pleased. I can only imagine how tired Dad was at 82!
8. I had never fiberglassed before in my life (the old boat that Dad and I built in the 70's just had a coat of house paint). Your book explained everything very well, and there were very few surprises. Our part of Australia gets pretty hot, so once temperatures hit 35 + degrees Celsius, pot life on the epoxy is very short, and you need to work fast.
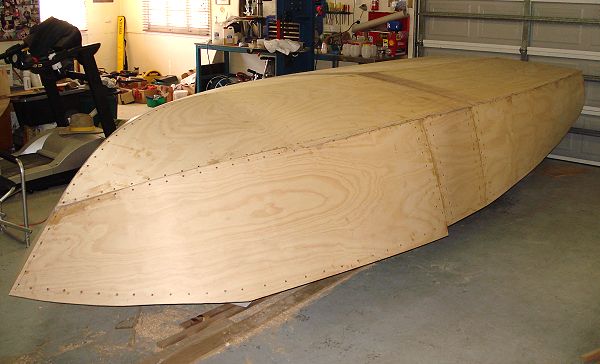
9. More sanding.... Did you notice the building form has castors on it? After the hull was completed, I cut the tack-welds, un-screwed the frames from the form, lifted one end of the hull and removed the shorter bench. I then repositioned the hull to balance it on the existing bench, re-screwed the frames to the bench top, jacked the whole thing up, and fitted castors. That allowed me to roll the hull out on to the driveway for sanding and painting, and to get it back into the garage overnight, or during rain (a little bit of Aussie humour there ..... Australia is currently in the grip of the worst drought in over a hundred years. We haven't been out of drought now for 15 years in some places, and water restrictions apply just about everywhere).
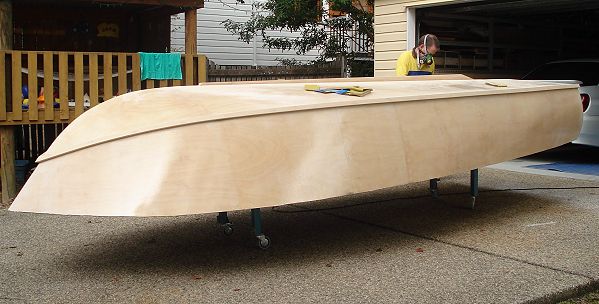
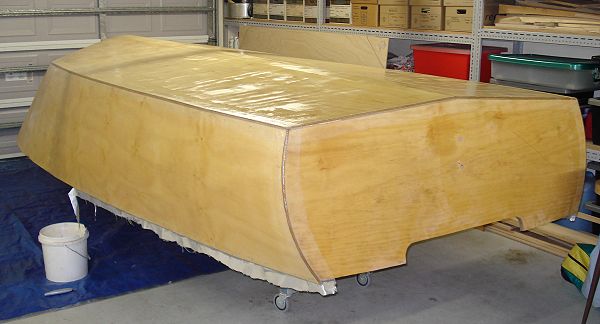
10. The keel and spray rails have been fitted, and there is more sanding to do. I actually chose to fiberglass the bottom edge of the keel, just to give it some extra protection from abrasion. So far, it appears to be working.
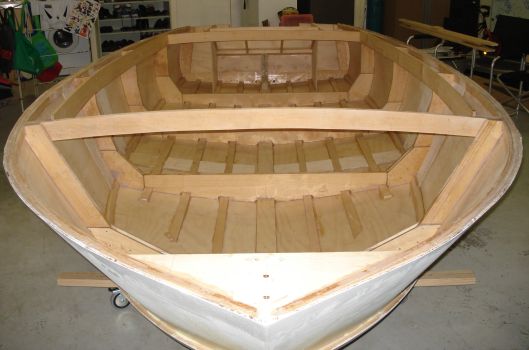
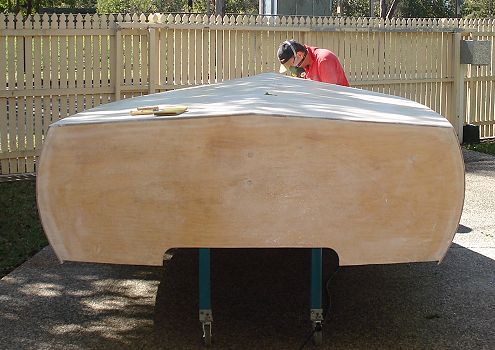
11. The hull is turned. I took the easy option. We built a cradle to hold the hull while it was still upside down. The cradle was lined with old carpet so the paintwork wouldn't be scratched. I then got about 8 friends over and we simply picked up the hull and flipped it over into the cradle which was sitting beside it. I then transferred the castors from the bench to the cradle, so I could still wheel the hull around as required. If you are doing this, make sure that at least 2 of the 4 castors are "locking" castors, so your project doesn't take off down the driveway by itself! The weight of the hull when it was first turned was 133 kg (292 lbs).