Constructing a Curved Windshield (Cont'd)
by Stephen K. Yokubaitis
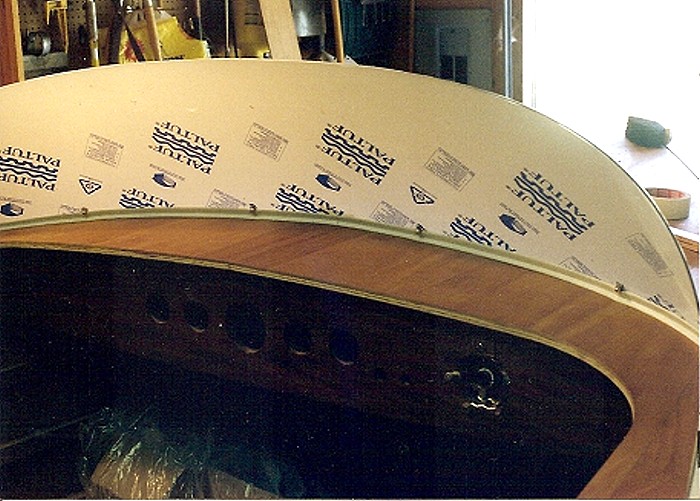
O nce the bottom of the windshield
has been traced onto the deck, holes are then drilled through
the deck and from these locations matching holes can be
drilled through the Lexan for the hold-downs. The hold-downs
can be easily bent to match the angle of the windshield at
each point.
With the windshield and vinyl channel held in place with the
hold-downs you can start fitting and cutting the front half
of the top windshield trim (gunwale molding). Holes are
drilled through this molding and countersunk, then the
molding is clamped onto the windshield along with the back
side molding (rub rail molding); securely hold in place with
as many clamps (and hands) as will fit.
You want the two moldings tight against the Lexan surfaces;
the front molding (gunwale) tight against the top edge of the
Lexan and the rear molding (rub rail) tight against the
overhang of the front molding. The front molding is then used
as a guide to locate the holes to be drilled "in
place" through the existing holes in the front molding
continuing through both the Lexan and the back molding. The
holes in the Lexan are later redrilled to 1/4" to
accommodate the vacuum hose grommets.
The vinyl channel also needs to be trimmed to suit. It is
best to trim the upper part of the channel around the
aluminum windshield trim but to leave the bottom of the vinyl
channel under the ends of the aluminum trim to protect the
deck.
My windshield measures approximately 15" at the
centerline of the boat by 92 1/2" along the top edge of
the windshield. It slopes approximately 37 degrees from
vertical at the boat's centerline to nearly vertical at
the outside ends of the windshield. At its base my windshield
is offset approximately 11" forward of the cockpit edge
at the boat's centerline.
Photos of Process
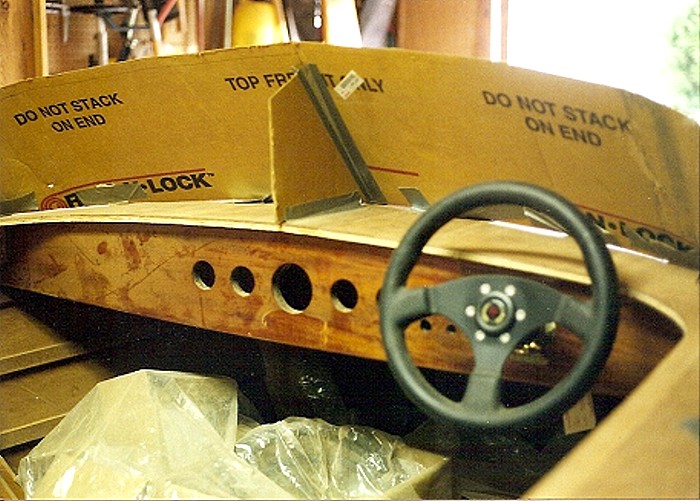
Cardboard template taped in-place. A light
weight solid cardboard would have been better suited for this
application but, a large corrugated box is what I happened to
have. The steering wheel is in place in this photo because it
was at this stage of construction that I was experimenting
with various seat heights relative to the steering wheel and
also working to determine the appropriate windshield height
to give an unobstructed view.
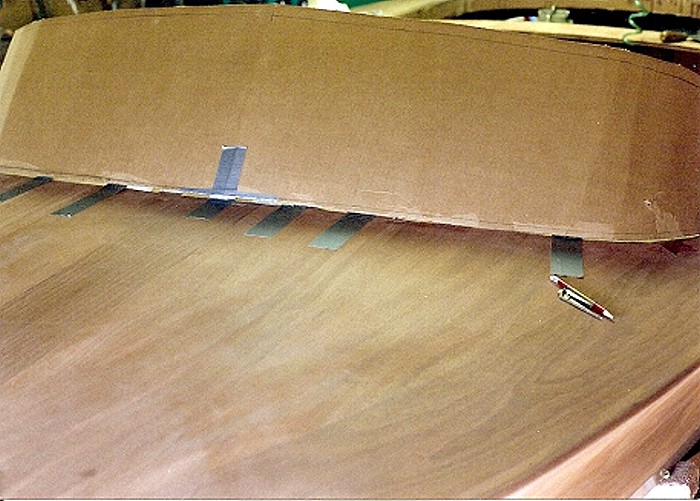
Cardboard template taped in-place. I used a scribe to mark a
fair line along the deck edge of the windshield
template.
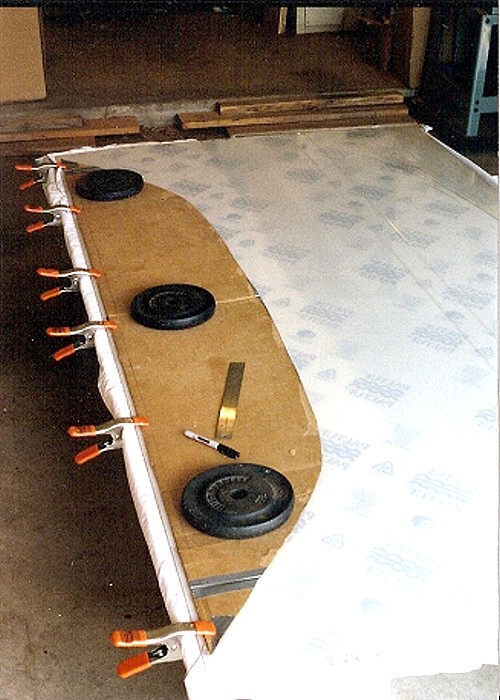
Template clamped and weighted down ready to mark and cut
Lexan. I never did use my barbell set for its intended
purpose but have used the weights many times in applications
similar to this.
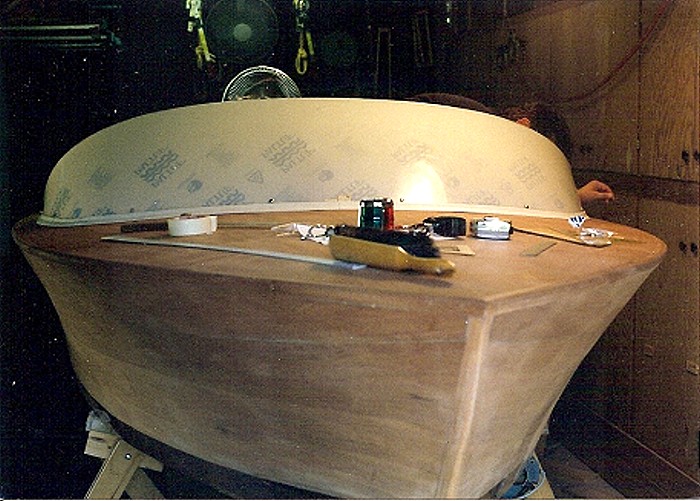
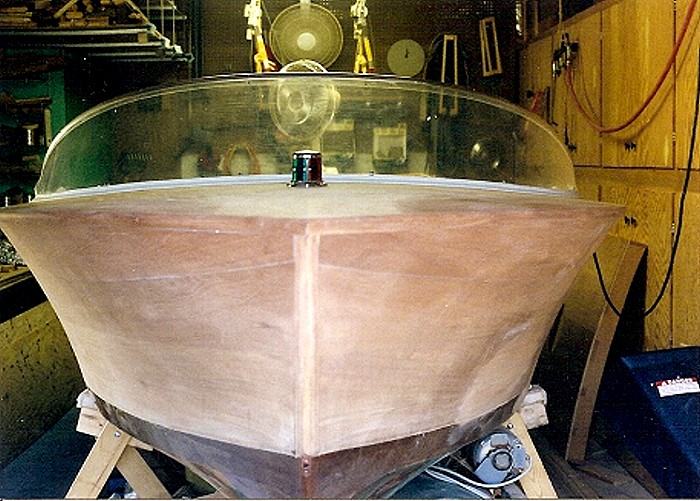
Windshield with protective film still attached. Hold downs
and deck channel are in place.
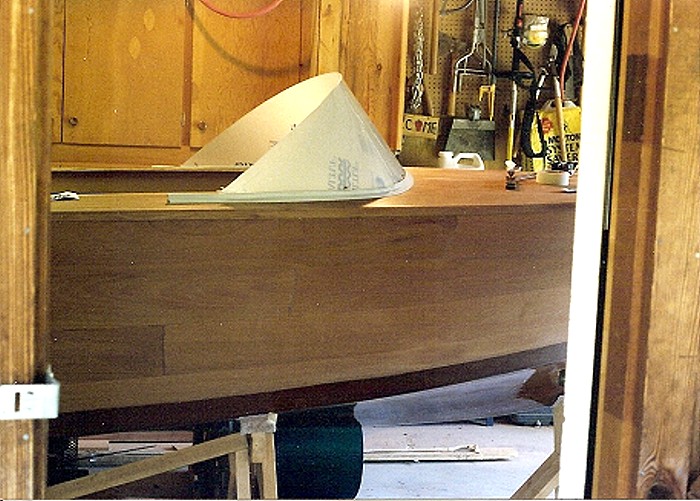
Note: Deck channel ends are not trimmed at this stage.
Windshield with protective film still attached. Hold downs
and deck channel are in place.
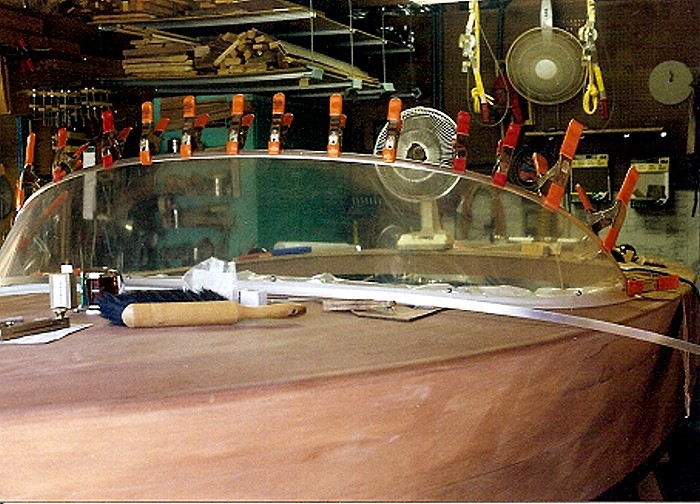
Fore trim (gunwale) clamped in place. Note: ¾"
aft trim (rub rail) has been bent to shape but is not in
place and is lying across deck in this photo. You can never
have too many clamps.
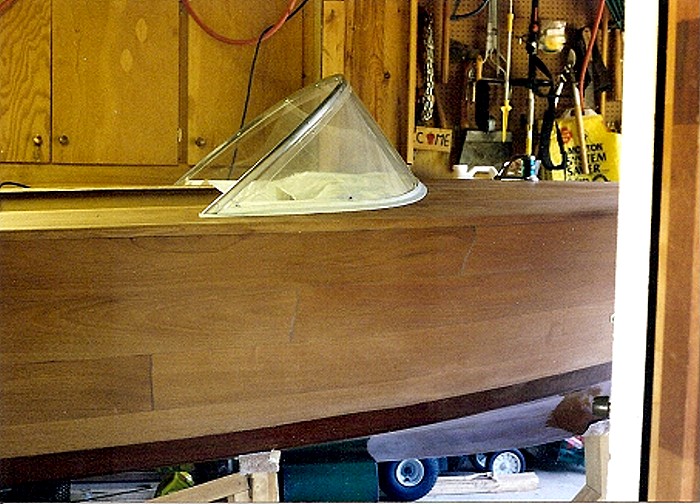
Side view of finished windshield with deck channel ends
trimmed. White protective film has fallen from the Lexan but
clear film is still trying to hold on. I left the protective
films on as long as possible.
Final view from front.
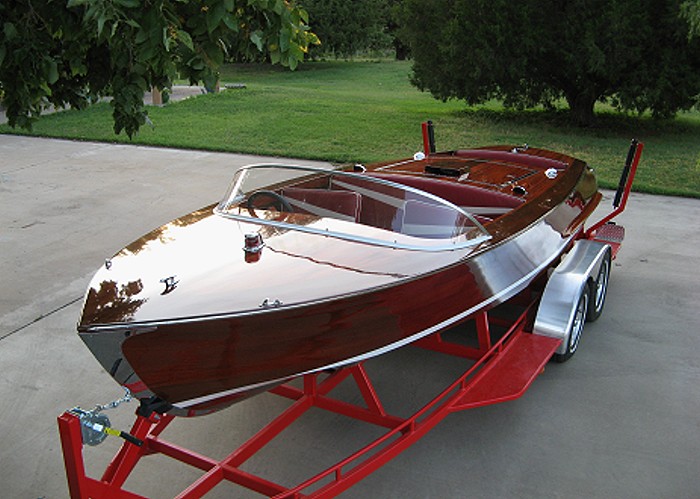
The finished boat, "Mistress."
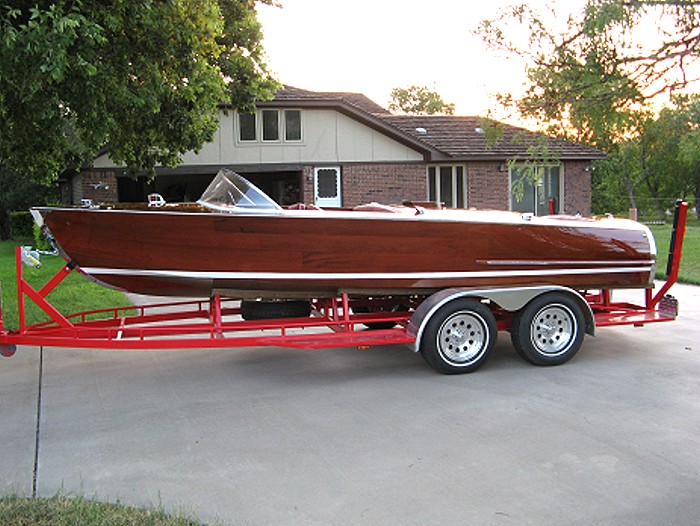
Another view.