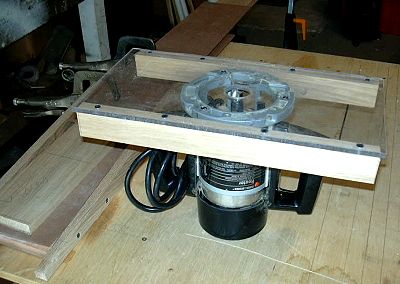
I fabricated a ramped box for the router to run on, a long foot for the router, and a taper jig. The long foot router (some will call this foot a 'bridge') runs along the ramp to cut the taper on the material stock. All material came from the scrap bin. The major items for this project are:
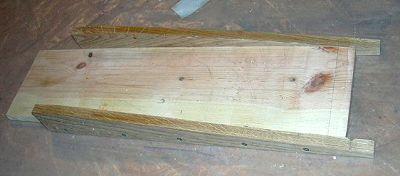
The taper jig was made to cut a 10:1 taper from the fence of a table saw. With this, I make 10:1 taper wedges, from flat lumber, to serve as the sides of the box. The ratio of the taper is builders choice; mine is 20" long, so I set the taper at 2" in 20". A purchased taper attachment for your table saw will also work, but I didn't have one, and I wanted a permanent jig.
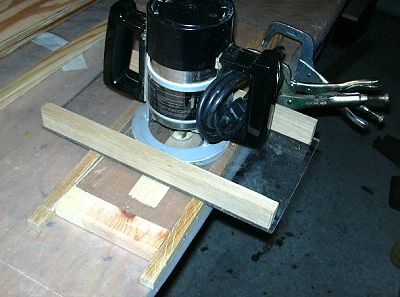
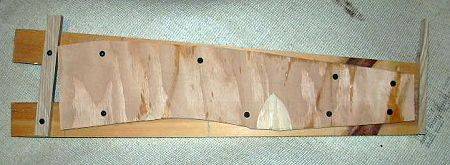
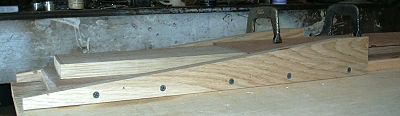
The member to be scarfed is clamped in the jig on top of the sacrificial backing. Several passes of the router and the piece is ready for scarfing.
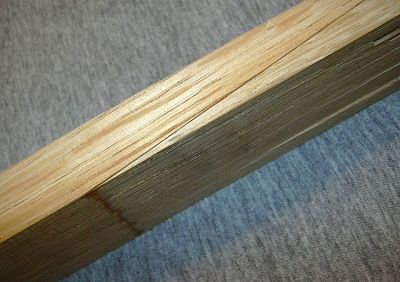
Once the jig is made, it is easy to get a perfect scarf joint every time.
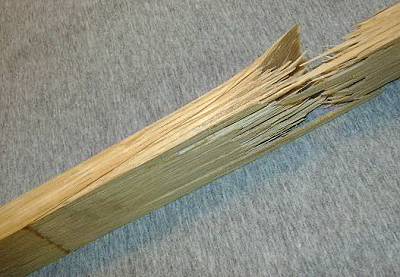
The epoxy glue joint is stronger than the wood itself.