Feedback: Kidyak
by Marc Bourassa
Continued
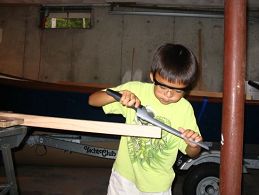
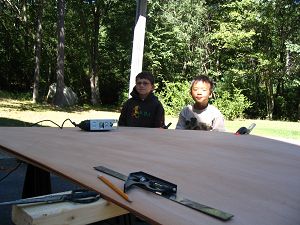 1. Ready to cut plywood.
Note the grim determination on the faces.
1. Ready to cut plywood.
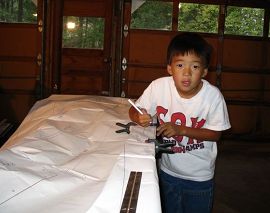
Note the grim determination on the faces.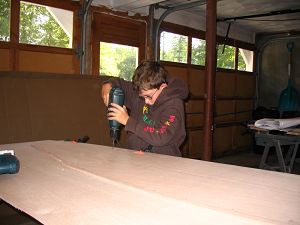 2. Alex Drilling stitch holes
in the bottom panel. We overlaid 2 pieces for each cut, producing panels for
both boats at the same time.
2. Alex Drilling stitch holes
in the bottom panel. We overlaid 2 pieces for each cut, producing panels for
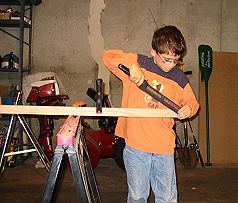
both boats at the same time.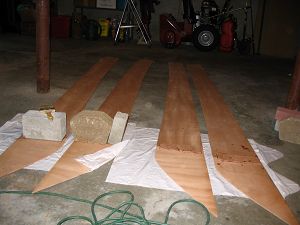 3. Sides butt-joined and curing
in the garage. We're using 4mm Sapele for the sides and 6mm Okoume for the
bottom & bulkheads. We're also using 5/4 stock mahogany for the coaming
and keel. Cost is a bit more, but we're planning to bright finish a lot of
the boat, so the mahogany will provide a beautiful look. I want my
children's grandchildren to paddle these boats.
3. Sides butt-joined and curing
in the garage. We're using 4mm Sapele for the sides and 6mm Okoume for the
bottom & bulkheads. We're also using 5/4 stock mahogany for the coaming
and keel. Cost is a bit more, but we're planning to bright finish a lot of
the boat, so the mahogany will provide a beautiful look. I want my
children's grandchildren to paddle these boats.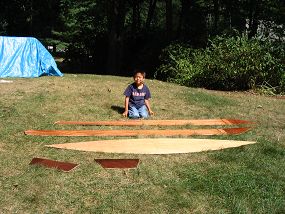 4. Jack posing with the
finished panels of his boat. We're epoxy coating one boat before
stitching/taping and one boat after, to see which method is more
efficient.
4. Jack posing with the
finished panels of his boat. We're epoxy coating one boat before
stitching/taping and one boat after, to see which method is more
efficient.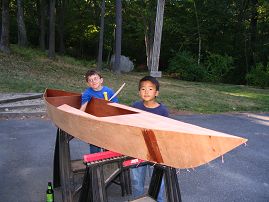
5. Here's Alex & Jack with one of the boat hulls all stitched up (that's my beer, by the way). The sides and bottom matched up very nicely. The forward deck is just placed on top for show.
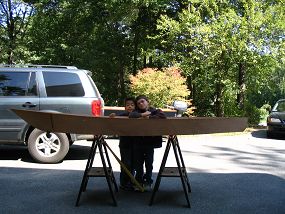 6. Lookin' good with the proud builders
(there's a sneak peek at my Power Skiff in the background).
6. Lookin' good with the proud builders
(there's a sneak peek at my Power Skiff in the background).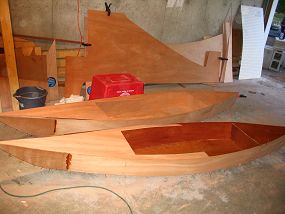 7.
7.
Next Steps: Fillets & tape.
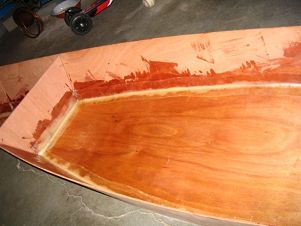
8. Here's the hull of Alex's boat filleted & taped. We used the "wet on wet" method, simultaneously building the fillets, laying on tape and wetting out. We find this to be more efficient; less epoxy usage, faster to complete and less sanding required after the fact.
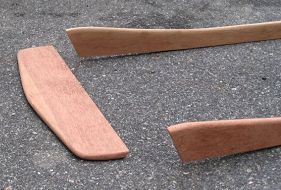
9. Jack spends some quality time with the skeg, rounding off the ends.
10. Tracing the last pieces.
11. More skeg rounding. These may be the most over-engineered components in boatbuilding history!
Note the thick coating of mahogany dust covering the floor and almost everything else in the garage. This makes my wife unhappy. I am sorry about that. Sort of.
12. Coaming and front splash formed. I bought a 3/4" by 4" piece of mahogany decking for $6.00 at the local builder's supply. I bonded 2 pieces together to get the width I needed for the front. A little work with the plane, rasp & sander resulted in some pretty nice-looking trim, I think.