CHAPTER II: Completeing the Alex B!!
by Marc Bourassa
Continued
|
|
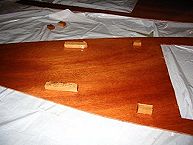
1. We glued blocks in place under the decking to allow us to install
hardware later. |
2. Installing the decks. Not very elegant, but effective. Note that we
have stitched the decking along the open cockpit area to afford a tight
fit. |
|
3. Decks installed and underside taped. For this step, I flipped the
hull upside down onto sawhorses, then got on my knees, stuck my head in the
cockpit (wear an old hat) and installed the tape on the underside of the
decking. Probably the most difficult and messy part of the job. |

4. Another view of the taped cockpit. |
|
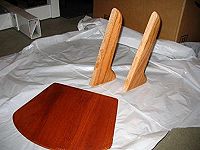
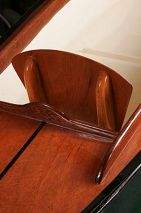
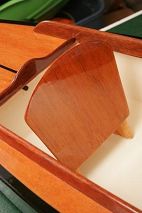
5. We decided that a nice seat would make a pleasant addition to the
boat, so I fashioned a back from some oak stock and a piece of scrap
sapele. |
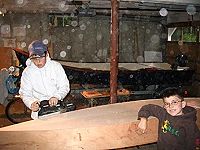
6. Here's Alex and his good friend Ian sanding and preparing the
hull for taping. Alex's friends were a continuous, reliable source of cheap
labor; they couldn't wait to get their hands on the tools and help
out. |
|
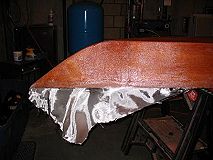
7. A shot of the glassed hull. Next time I will lap the cloth over the
top of the deck about 1" or so, eliminating the need for taping that area.
This will save time and provide a neater finish. |
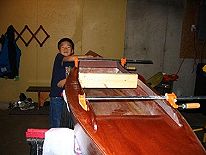
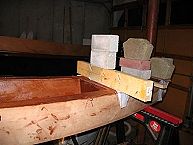
8. Here is Jack assisting with the installation of the coaming. I must
say I'm rather proud of this technique. I press fitted a 2 x4 into the
widest part of the coaming, then bent the longitudinal pieces around it,
forming a curve that followed the sheer of the decking exactly. I held the
assembly in place with the bar clamps shown, then glued it all into place. Be
sure to cover the 2 x 4 in plastic to avoid bonding the coaming to it! |
|
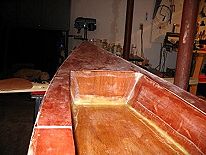
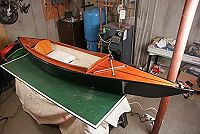
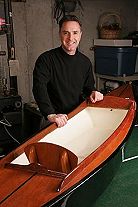
9. And down the stretch they come. We have sanded and faired the
cockpit, then primed and painted it. We have also installed the other pieces of
the coaming and slapped a coat of varnish on it. Altogether we applied about
seven coats of varnish (I lost track of the exact number. Must have been the
fumes). |
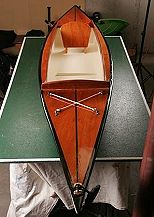
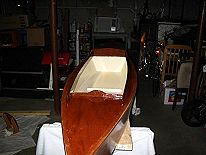
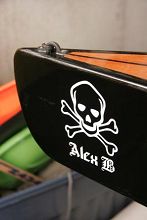
10. The completed Alex B. I used
3/16" Fine Line tape to mask for the deck perimeter and center line. The
hardware includes a brass pad eye in the bow, as well as some smaller eyes for
the deck bungees and stern. I also installed toggle handles for easy team
carrying. The stop that you see on the bottom forward of the seat back is to
accommodate a seat cushion - illustration below. |
|
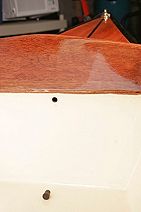
11. I drilled a 3/8" hole in the forward and aft bulkheads and
fitted a rubber bung into each to allow for ventilation. |
12. Note the flotation cushion in place for added safety and
comfort. |
|
13-16. Some additional views of the finish work... |
|
|
|

|
As you can well imagine, this project has been
enormously rewarding. We'll get right to work on the Jack B, and will no
doubt be having some serious fun in the spring. I'm also going to try and
get in a 2 person kayak so my wife and I can paddle along (although I'm
quite sure that this will detract from the appeal for Alex & Jack).
The project is very straightforward, and the plans
are excellent. The youngsters can participate in most of the process; I did not
let them handle epoxy or epoxy sanding. The key is to bring them in for small
steps that have a big visual impact.
NEXT UP: Completeing the Jack B.
|