Cruisette: Builders' Diary, Part 2
Ron & Devy Porter
Continued
Days 3 & 4 ( Dec 18, 2005): Whose idea was it to suggest the addition of a plywood lamination on the keel?
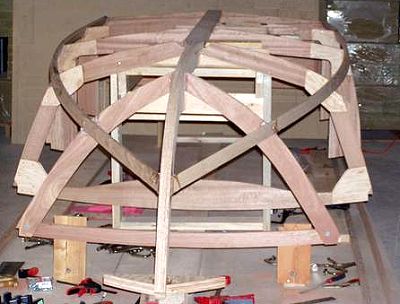
We started out Saturday with the plan to finish the basics of framing this weekend. So we've most of the stations set up and I'm double-checking that everything is level. Can't beat luck!
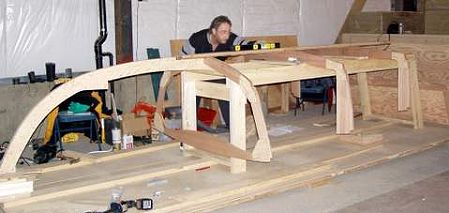
The plans note the value of adding a plywood lamination to the inside of the keel. Benefits include better split resistance and more strength for use with higher horsepower motors. No negative consequences were noted. I realized that there was likely to be some fallout, but since we are planning to put the largest recommended motor on this thing, I felt that I should add the lamination. Oops! Now the keel sits so high against all other frame members that a significant fraction of the keel will be faired away in preparation for sheeting. Oh well, that's why jig saws and spokeshaves were invented. Fortunately, we already owned a jigsaw and I had already had my eye on a spokeshave. I trimmed away a bit of the keel bed, thus making a more sensible fit for the keel.
After making the necessary adjustments to the keel bed, it seemed like a good idea to make sure that everything is still going to come out straight and level. It looks good. Can't beat luck!

So, we didn't get as far as planned, but that's okay, because we're actually still ahead of where I thought we would be. All in all, things are going faster than I expected.
Day 5 ( Dec 31, 2005): Last frame member goes in!
Not much to say here. We spent most of the day double-checking all the various aspects of the layout. It looked okay, so we put in the last frame.
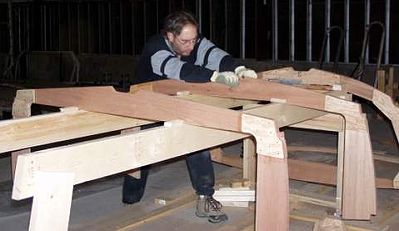
Days 6-8 ( Dec 31, 2005): Those chine logs are tough to put in by yourself!
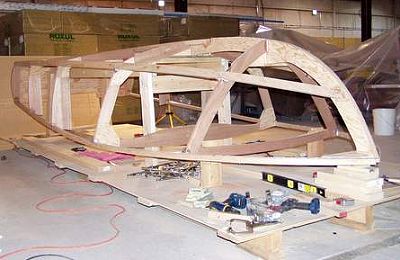
Devy had to work while I had a few days off between Christmas and New Year's Day. That left me to work on things by myself. And it was tough! We didn't set up with enough clearance from the wall, so I had to fight pretty hard to get the port side laid in. One of my biggest problems was the screws. Have I ever said that I hate Phillips head screws? No? Well, I do. Based on other reading I've done recently, it should be safe for us to use plated screws instead of silicon-bronze as long as we're going with full epoxy encapsulation. We are, so it's off to buy some proper Robertson head screws!
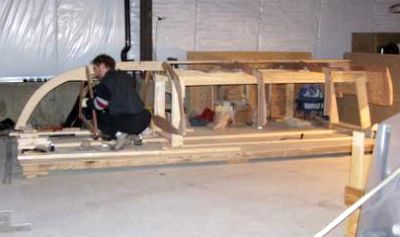
Still, it is starting to look like there might be a boat hidden in there somewhere!
Day 9 ( Dec 31, 2005): Straight grain is important!
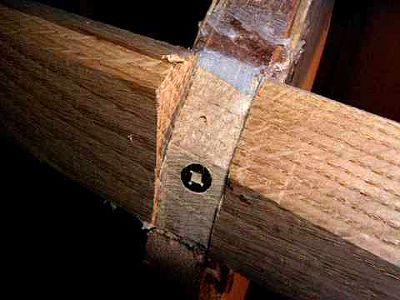
The sheer clamps weren't as hard to put in as the chine logs, possibly because I now had a plan to get through this on my own. On the other hand, I did manage to split the bow end of the first lamination on the port side. Some head-scratching and careful examination led me to the conclusion that the second lamination would keep things stable and strong as long as I moved to screws long enough to go all the way into the the stem block.
In any case, things seem to have worked out all right. And now for sure I can see the boat hiding there!
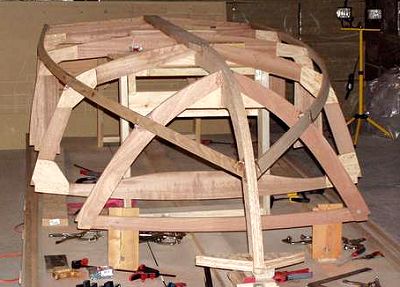
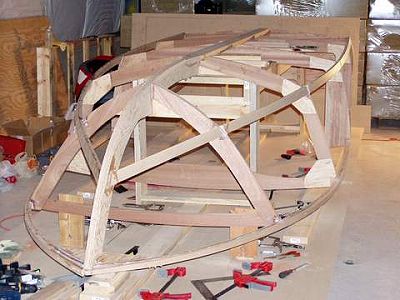
Days 10 and 11 ( Jan 2, 2006): Shaping, carving, trimming...are there any other words?
You can see that quite a bit of wood needs to be removed from the chine logs in order to get things into shape. Similar work is required on the sheer clamps. In case I forgot to define the terms earlier, the chine log is what holds the side of the boat to the bottom--that corner is called a chine and the sheer clamp is what runs around the top edge of the hull.
I did about a third of the starboard shaping using a spokeshave. That went all right, but it took about 10 hours. Since we're on a fairly tight schedule, I borrowed a power planer to do the rest. Things go much faster--thanks, Dave!
Next issue: Sheeting the hull