The trials of building the Renegade
by Mark Haxton
Continued
 Note: Click on thumbnail photos below to enlarge. Use Back
button to return.
Note: Click on thumbnail photos below to enlarge. Use Back
button to return.
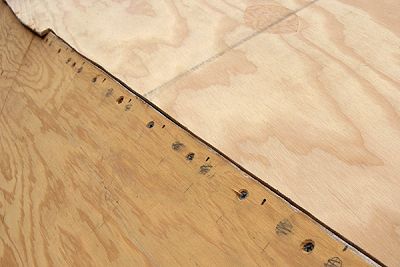
The first picture shows the transition joint. The 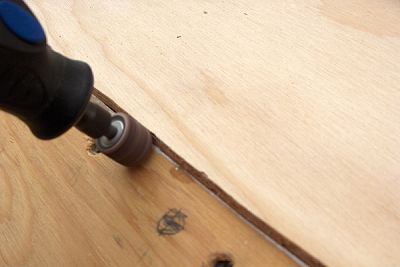 rear part was easy because I could leave it long and trim it later. The front part was difficult because it has to be fitted. I was able to rough cut the front part by putting chalk on the other piece of plywood and bumping the top piece against it. This left a line I used as a guide to cut. Then I used my hand planer for part of the fitting, and a Dremmel Tool to finish it (Picture 2).
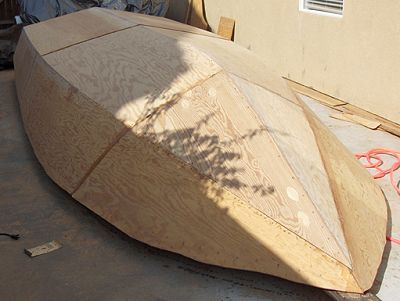
The third picture shows the first layer of the bottom plywood in place. The fourth picture shows all plywood in place, and 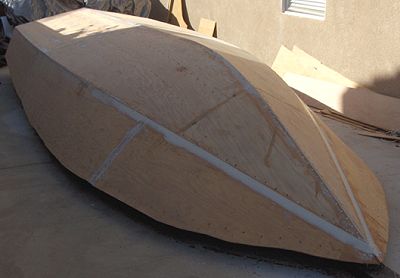 filler. For the filler, I used Poxy Shield with Microspheres and Silica. This stuff worked really well. It had the consistency of peanut butter, didn't move out of place, and sanded easily.
Then came the screw holes. There were a serious 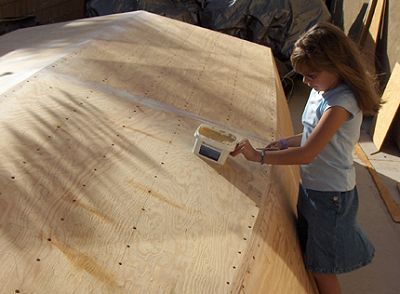 amount of screw holes to fill on this thing. I tried the Tom Sawyer thing and told my daughter that I was going to do something really fun, and that she would have to pay to help me. I made a show of relenting and let her help me for free. Picture five shows her helping. The quality of her work wasn't spectacular, but free labor
 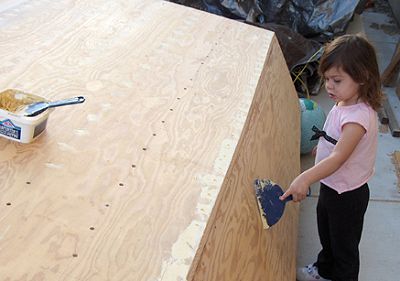 is free labor. Unfortunately, she caught on quick to the scam and lost interest. What was even more unfortunate, my two year old wanted to help. The quality of workmanship dropped considerably, and she didn't lose interest like her sister. She also wasn't fooled when I pretended to put putty on her knife. Picture six shows her contributing to the project. I guess I'll have a little extra sanding.
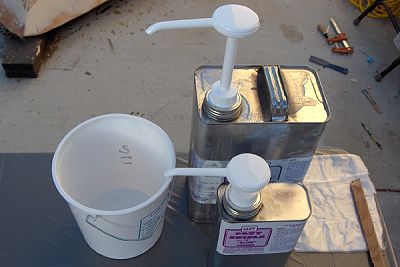
After many hours of filling screw holes, and sanding, I was ready for fiberglass. I wanted the pumps for the epoxy because my current technique of pouring it into measuring cups was very messy. I looked at several stores and could not find anything useful, so I went into Glen-L. They told me that the pumps were supposed to be metered, and weren't, so they threw them away. Luckily they fished a set out of the trash for me. Metered or not, those things were worth their weight in gold. I just made lines in a bucket to get a five to one mix, and pumped until it reached the line. Picture seven shows the set-up. Maybe if enough of us stand in front of Glen-L's store with picket signs, they will bring back the pumps.
Picture 8 shows me putting on the coat of epoxy before the first layer of fiberglass. This is the last time I did this without 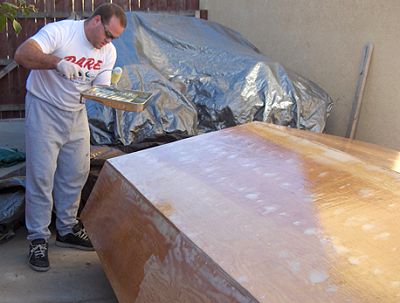 long sleeve shirts and a respirator. This layer took a long time to dry, and I let my impatience get the best of me. I put down the first layer when it was still a little tacky. It was tough to get it smooth and this first piece of fiberglass took longer than it should have. Overall the fiberglassing went easier than I thought. The kit I got said to put it down in six pieces; One piece on each side of the bottom, one piece for each side, and two pieces on the transom. I first put down two pieces that didn't touch each other, and then feathered the
 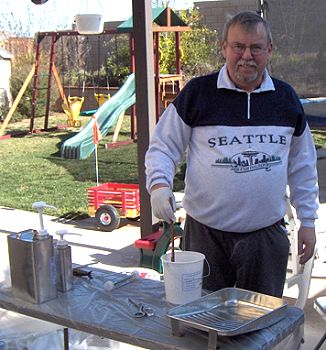 edges the next day. Then I put down other pieces that didn't touch, and so on.
I had some help with the fiberglassing. Picture 9 shows Paul "Pops" Edholm. Pops was in the Navy, so I figured he should know a 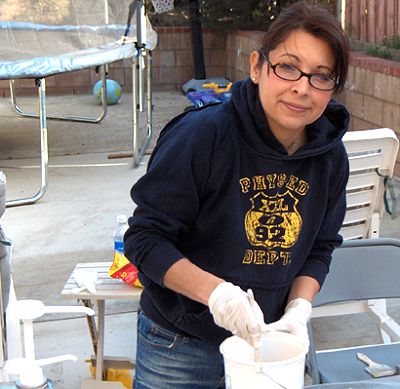 thing or two about boats. Pops told me he helped someone fiberglass a boat when he was a boy. I asked if it was the Mayflower and told him I thought they used pitch back then. He answered with a few expletives I won't print here. I only
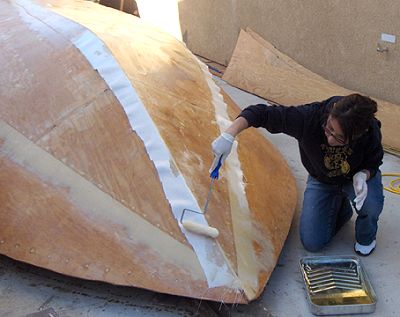 got to use Pops for one day, so I used my wife Christina (Picture 10) the other days. What she lacks in experience, she makes up for in aesthetics. Picture 11 shows her wetting out the cloth. She did a fantastic job, and made my work with the squeegee really easy.
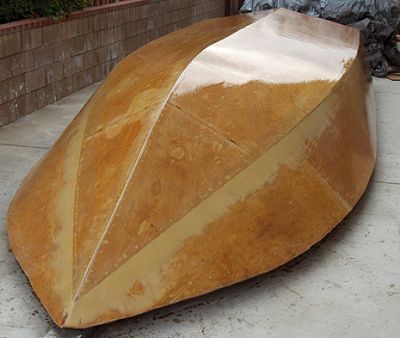
Picture 12 shows the boat after I applied the coat of epoxy that fills the weave. It's shiny because it's still wet, but I'm proud of how smooth and fair it is.
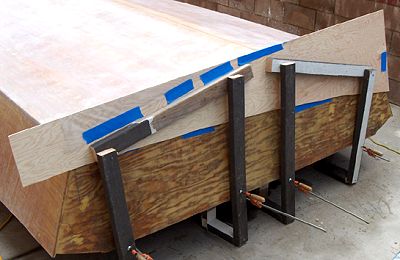
I had to round off all edges for the fiberglass, but the edge between the bottom and transom is supposed to be sharp. I decided 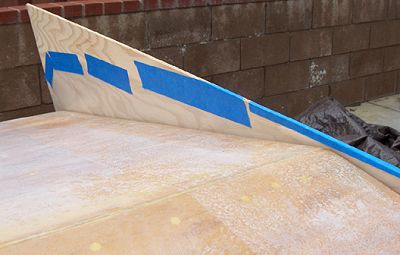 to use a piece of scrap plywood as a guide to build up the edge using epoxy with microspheres and silica. I didn't want to drill holes to hold up the plywood, so I set up scrap
 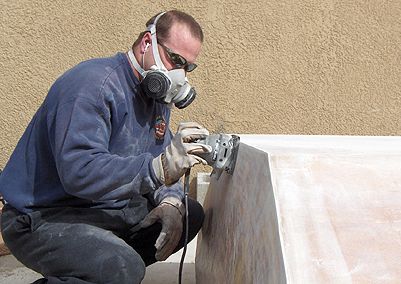 wood and clamps shown in photo 13 and 14. I used wax paper so the scrap plywood wouldn't become a permanent part of the transom. Then some sanding (photo 15) and look at that edge! Notice that I am wearing full protection now.
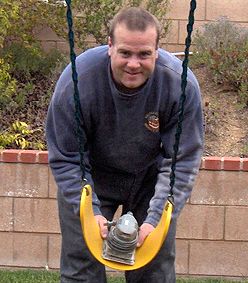
Let me tell you a bit about my sander. Now it's not unusual for a man to develop a special relationship with a tool he spends a lot of time with. And I'll tell you, that sander and I spent A LOT of time together. In photo 16, we spent the day playing and I was pushing my special sander on the swing set. Then the inevitable happened; I found my sander in the 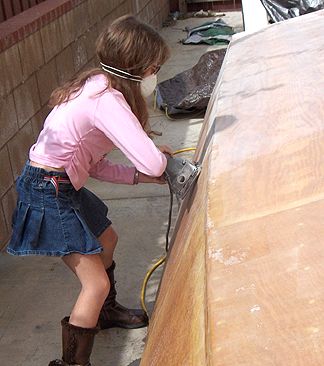 hands of another (photo 17). To make things worse, it was my own daughter. We had a fight worthy of a Jerry Springer episode. I was devastated. Well, after some time to heal, and some therapy (Me and the sander watched Dr. Phil) I found out that I was not being a reciprocator. I expected sander to be there at my beck and call, and I didn't communicate my appreciation in return. We worked through it and are now doing well.
I'll keep you updated.