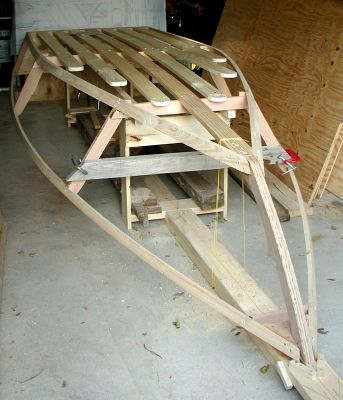
I still have a temporary brace clamped across the temporary frame (which I have decide to make a permanent frame in the interest of strength, only one frame worries me). The temporary brace is only clamped and will come out before the plywood sides are attached.
The chines have been faired to the keel, that was a lot of fun. It was very important to put a straightedge across from the keel and use it A LOT to keep the bottom surface of the chine fair (or level) with the keel. The planing really was enjoyable, just plane a little and check a lot with the straightedge. This work was easy to do with a very sharp and well-adjusted plane. Sharp tools work best!
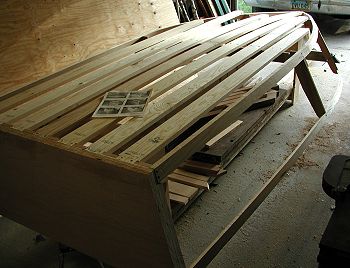
The battens were a piece of cake to apply to the frame, easy! I rounded the forward ends so they will not place a point of stress against the bottom plywood when that is installed.
I have the plywood sides traced out (no picture) and ready to be cut out and applied to the boat frame. I will be using marine grade epoxy, it is sitting on the workbench, waiting. Then, it will really look more like a boat! Meanwhile, I've got to get back to work!
George Maher, Fargo, North Dakota