Building the Malahini with Dad
by Alan Bates
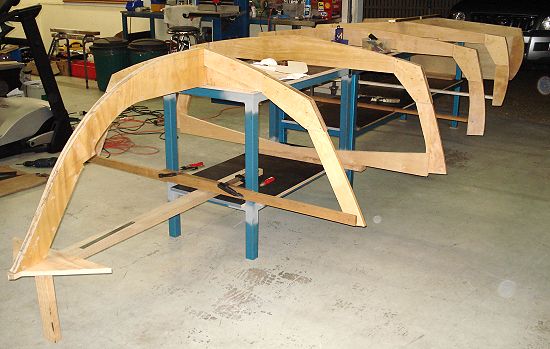
1. Here are the frames on the building form. A couple of things to note. I went with a metal form. I already had built a work bench that was 600mm x 2400mm (It's all metric here in Australia, so I had a lot of fun building in a sort of combined metric/imperial 'pigeon' measurement). So to get the correct length for the form all I had to do was to build a shorter bench that totalled up to the correct length and tack-weld the two together. The concrete floor was a bit uneven, so the benches had their legs shimmed before welding, to ensure they were true and even.
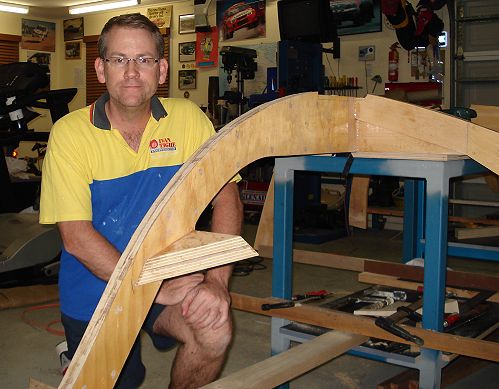
2. That's me!
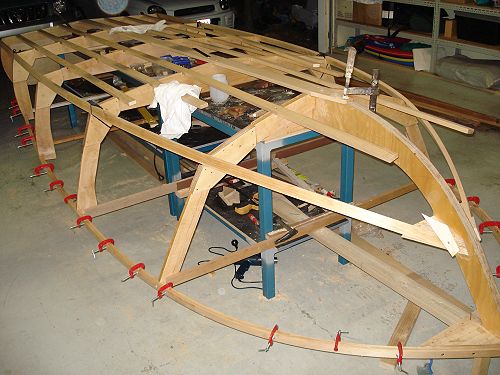
3. You can never have too many clamps!
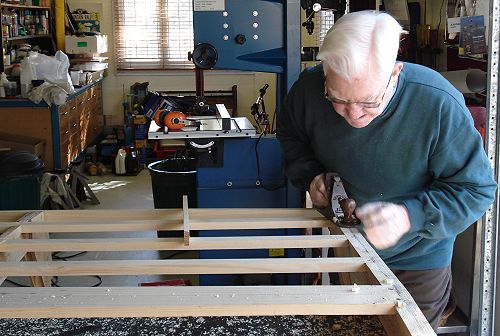
4. Dad's patience really showed during the fairing process. Everything had to be perfect! This shot also shows the bandsaw that I bought for the project. It was easily the best money I ever spent (after buying the plans to the Malahini). It saved a huge amount of time, and allowed very accurate cutting of the frames, etc.
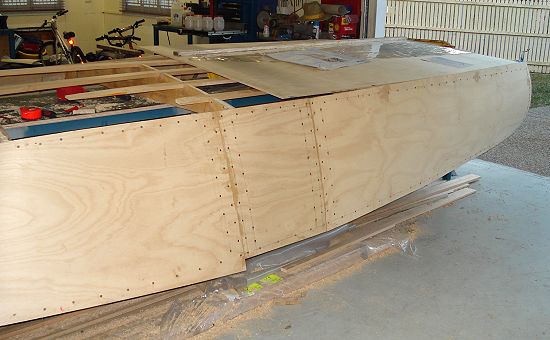
5. Sheeting the hull had to be done with 2 joins, so I made these in the flattest part of the hull to make fairing easier. I chose to build the boat using 'Hoop Pine' framing, and ply. Hoop Pine is a bit more expensive, but it is one of the great boat building woods. A short distance from my house is a grove of Hoop Pine trees that were planted in the late 1800's to provide masts for ships in the future. Progress killed-off the tall ship, and they were never harvested!